Do you want to start a new hobby this year? Maybe you or a close relative got a model train set recently, but you’re unsure where to begin developing your collection. If that’s the case, welcome to the party! You’ve started a fascinating hobby with a lot of room for customization.
Nevertheless, before you begin, there’s a lot to learn and consider, much like when you are choosing to DIY stuff at home. Do you know how to plan the space and layout or where to obtain high-quality model railroad tools and scales? Here’s what you should know to prevent wasting money, time and space. Building your first model railway is an adventure, so buckle up and enjoy the trip.
Table of Contents
Select a Scale
The scale of a model train is its size in comparison to a real train’s size. You may have already gotten a particular scale of a model train. However, if you intend to make model railroading a pastime, it’s still vital to think about what model railroad scales would work best for you in the long term. Many factors will affect your scale choices, including your vision, access to club designs in your region, affordability and available space.
Here are common train scales, from biggest to smallest:
- Scale (1:48)
- HOn3 scale (1:87)
- HO scale (1:87)
- N scale (1:160)
- Z scale (1:220)
The HO scale is likely the most popular model railroad scale among enthusiasts. This is mainly due to its size. It’s compact enough to fit in small spaces but large enough to avoid being too intricate or delicate.
Select a Site for Your Railroad
Now that you’ve decided on your scale, you must select where to place it. Model railroader enthusiasts usually have a permanent place for their railway that is never dismantled or moved. If you’re serious about the pastime, you’ll want to locate a space like this because operating your trains on the floor or shifting them around all the time may cause damage and wear.
When deciding on a location, you should also consider the sort of design you want to create. An oval or circular-shaped track layout is ideal for a mainline where you can relax and watch your trains move. These are excellent if they are accessible from every side for ease of use.
A point-to-point plan is effective if you want to construct your railroad for tasks such as moving freight vehicles into industries. These are also more space efficient. They can often be put up around the periphery of any place rather than needing a space large enough to accommodate the open center.
Choose Your Controlling System
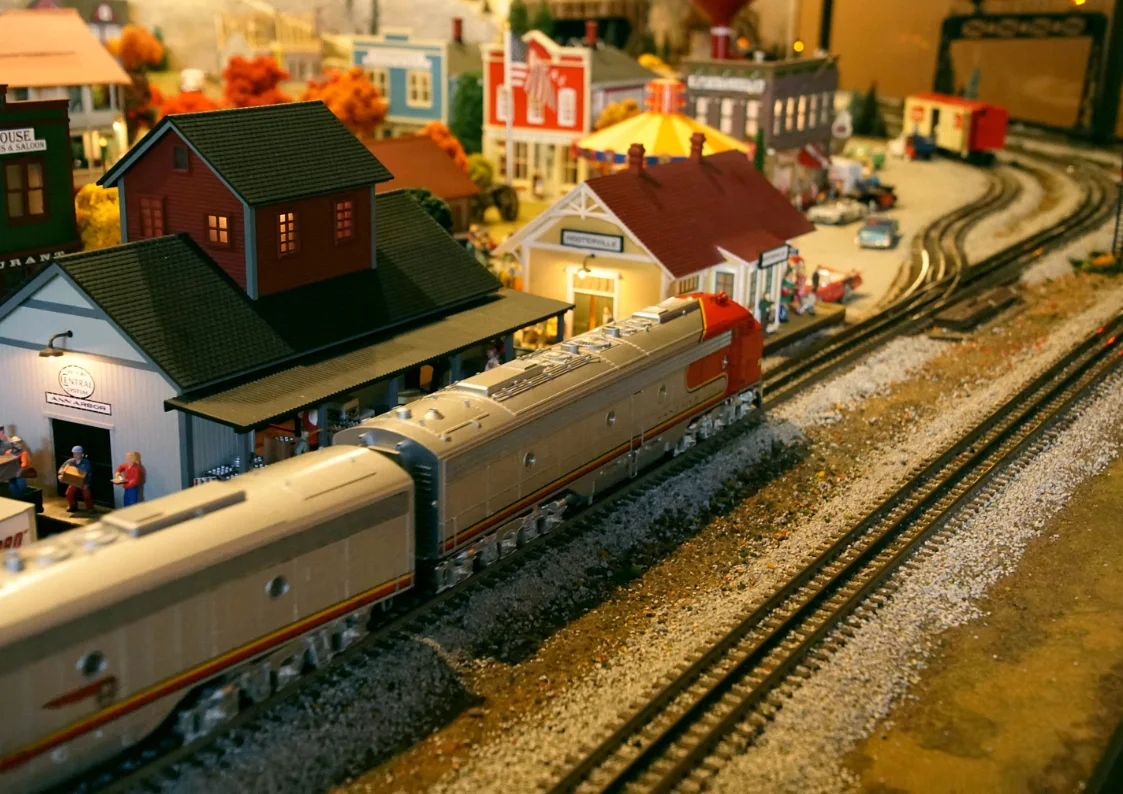
When it pertains to powering your train, you have two options: DC Analog control or Digital Command Control (DCC). Each has its pros and cons.
For many decades, DC Analog controlling was the norm. As a result, many earlier models were only functional with this technology. In contrast, DCC offers you endless versatility in train operation since it allows you to operate several trains simultaneously.
As you’re just starting, it’s a good idea to go with DCC because you can do so much more with it. For example, most DCC-equipped models now have sound effects that you can control with a DCC remote. Nothing beats barreling down the rails and being able to blow the locomotive’s horn!
Before Committing, Practice and Plan the Layout
When you get your first train set, make sure you’ll have enough track for a conventional oval layout, even if you plan on starting with a point-to-point plan. This way, you can convert your railroad into other layouts, which will keep it fascinating for years to come!
Study properly created plans in train modeling books. Some concepts you will like and others you won’t. You may also get ideas by visiting your local rail yard (safely and lawfully, of course!) or looking at train setups on Google Maps.
After you have a broad concept of what you want to construct, buy some model tracks and experiment with them. Check to see if it is effective in practice and perform any necessary adjustments before proceeding.
Create Your Scenery
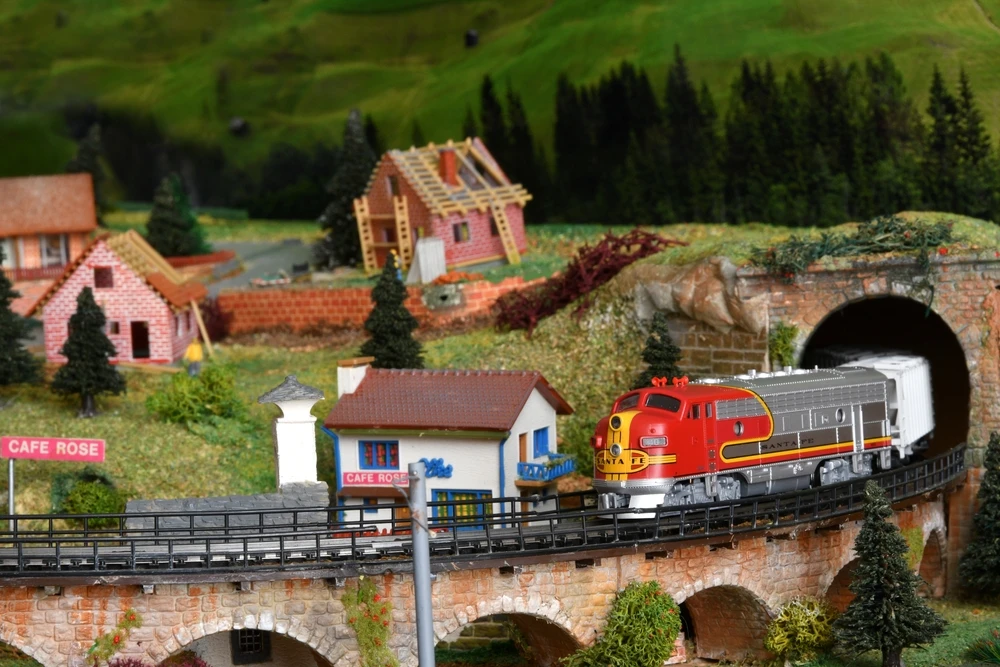
Now that your plan is adjusted to your taste, it’s time to start creating your landscape. Here are some of the landscaping options you have:
- Create mountains or hills
- Include features such as lakes and ponds
- Purchase or construct trees, billboards and other scenic objects
- Include buildings, structures and other accessories to make a town
Your layout communicates a narrative. It’s a fantastic opportunity to bring a specific interest, event or memory to life. You might make a scene depending on where you were raised or where you live now. If you’re interested in a particular real-life railway, you can create a setting that represents the region it goes through. You get to be creative and make your railway into a live scene at this stage!
Update Your Layout
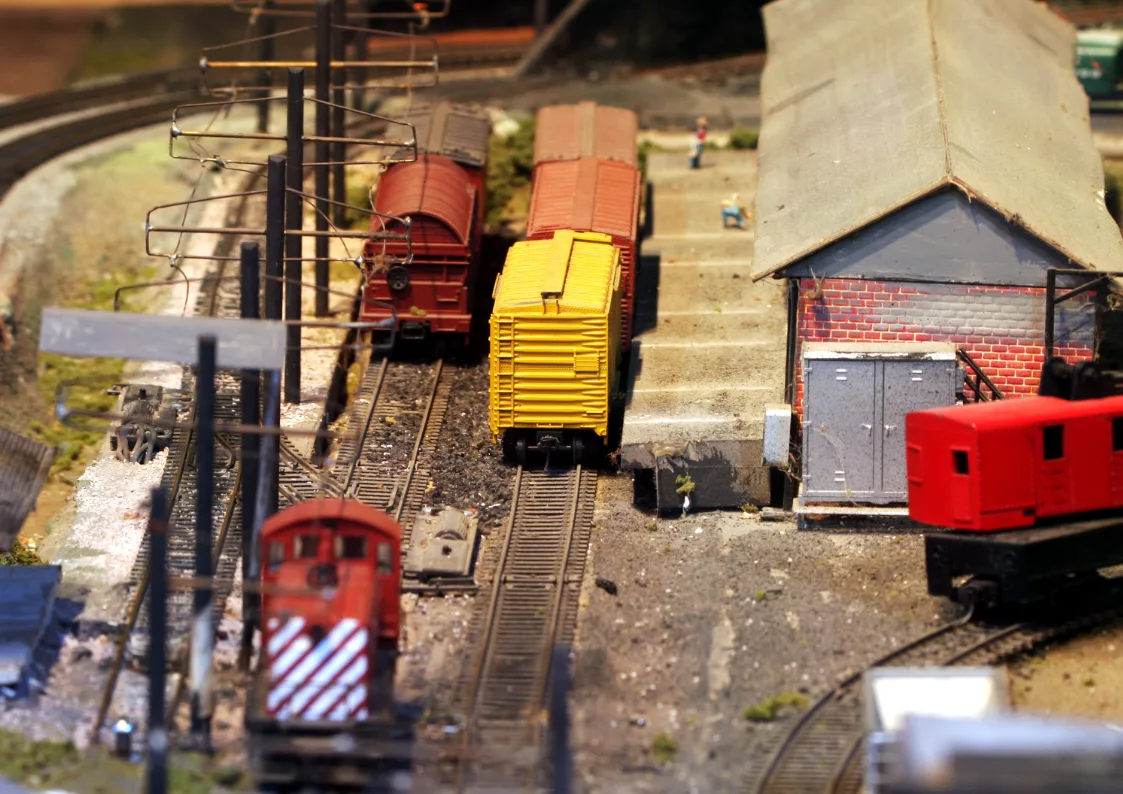
Your effort as a model railroader is never done. Even when you don’t want to rebuild the entire landscape from the bottom up, you may occasionally wish to tweak certain features.
You might want to alter the century in which your railroad is situated by changing buildings, cars and railway infrastructure. Or you may wish to modify the appearance of an industry or scenic aspect.
Sometimes you just want to include a new structure or have the latest scenery piece from your favorite company. Whatever you decide, you can be confident that your layout will continue to evolve even after you finish your first track circuit.
What You’ll Have to Pay
To get started, you’ll need $350 to $500 to buy excellent N or HO equipment and more for the Z or O scale. Like most other hobbies, model railroading has continuing costs such as buying model railroad tool sets, painting kits and landscaping features. It’s not about the money but the joy you get from it.
All Aboard!
The most critical aspect of creating a model railroad is having detailed step-by-step instructions for planning, designing and construction available ahead of time. Understanding the essential stages is vital to avoiding continuous frustration because of limited space or wiring difficulties. Enjoying a fully operating track with all the whistles and bells is the greatest feeling for a model railroader.




Leave a Reply