^Stylish Interior Upgrade Made Easy With Photowall : curious cats
You may have been living under a rock if you haven’t heard of Photowall before. ^_^ They are a Swedish interior company that has changed the scenery of wallpapers and canvas prints – giving homes that high-quality design look. You undoubtedly saw them on Facebook but maybe weren’t paying attention, but after seeing the transformation of the wall in our living room, you will.
Swedish brothers Niklas and Charlie Johansson founded the company and is headquartered in Skarpnäck near Stockholm. The brothers thought there wasn’t much personalized wall art on the market. And so, using their expertise in technology and their love of design, they produced original digital wall art. They purchased their first digital printing press in 2006 without having any prior printing experience, and the rest is history, so to speak.
Photowall mural designs and wallpapers are not only environment-friendly, they are fire-resistant too! Rest assured that you whatever you decide to decorate your wall with, it will stand the test of time, won’t easily fade in sunshine and give your home a much needed cozy look.Oh, and don’t worry, they ship everywhere, and at a very fast rate too!
–
There’s a wide range of wallpaper designs to choose from, and you’ll find one that would fit your home’s ‘personality’. You can make your kid’s room vibrant by picking rainbow colors, or give it a relaxing atmosphere by choosing cute animals and greenery prints. You can make your kitchen more cozy with a part of the wall depicting the tropics, or make it fun with a splash of colors. You can give your living room wall a bit of a texture with printed designs. Just like what we did with ours.
Table of Contents
Our Accent Wall
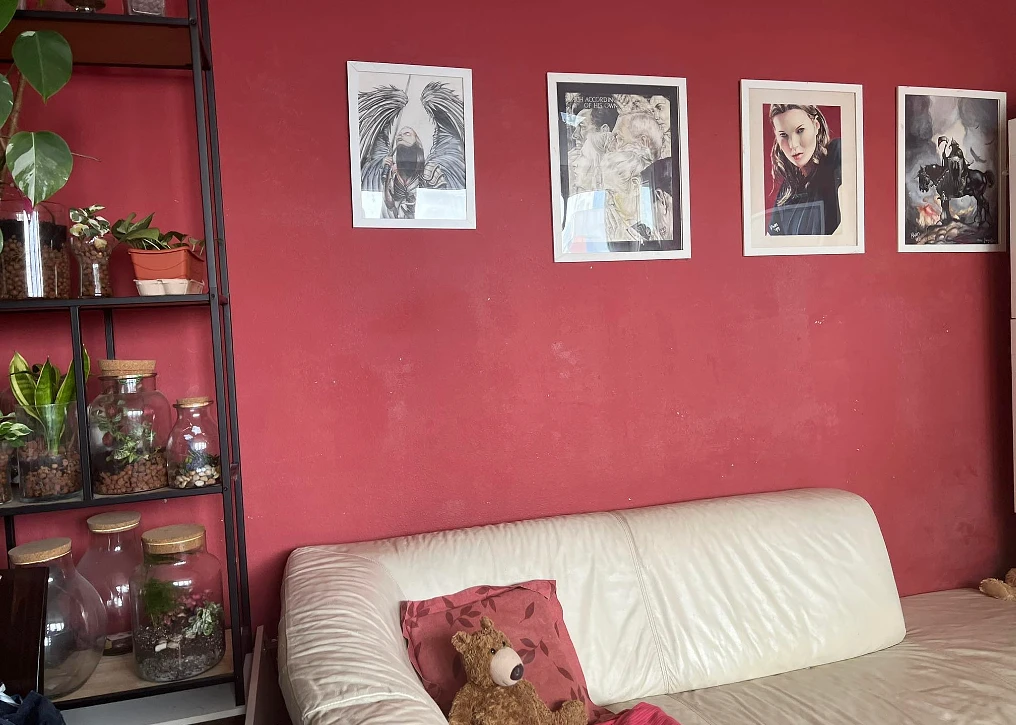
I don’t remember why hubby opted for a dark red wall. It has been so for many years. This red wall has been the background to many of my kids’ memories and photos, whether taken candidly or staged. The below image is their most used photo (that even got stolen and used by an appliance store), which I’ve also printed and framed, now hanging by the dining table.

The wall has of course been repainted, has its share of wear and tear, dust, and discoloration that you can see it needs upgrading. We’ve planned on renovating, changing things up but the pandemic happened it wasn’t easy getting stuff. Most of the hardware stores were closed, and only opened for construction companies. They allow deliveries but while it can be done, we were not confident to do online orders for some big projects.
Thankfully, Photowall made it easy to do.
Choosing A Design
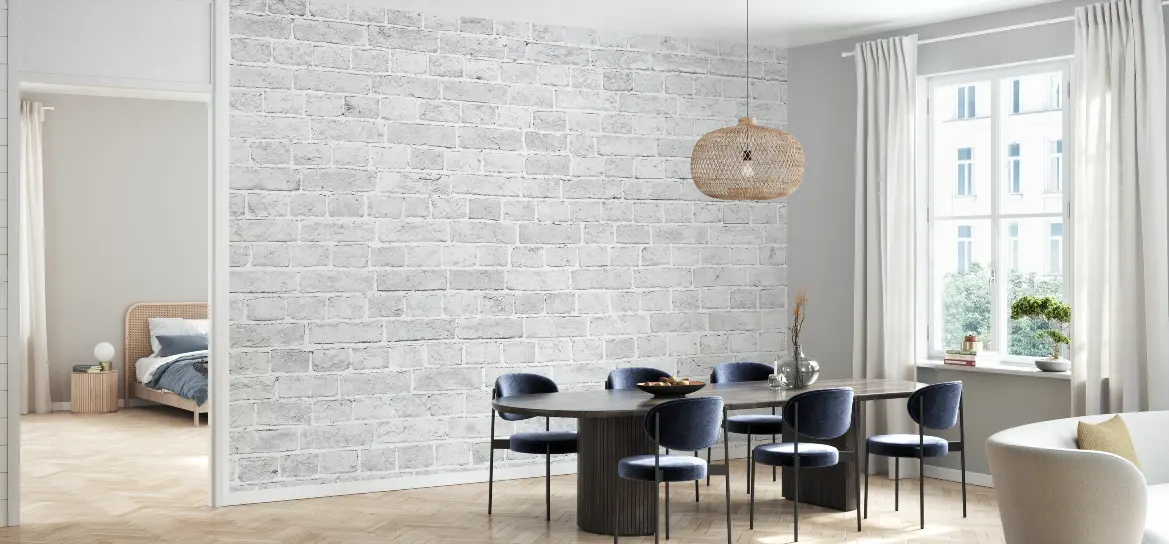
Seriously speaking, it wasn’t easy to choose a design, we were overwhelmed by the sheer number of options. Photowall has every imaginable color scheme, image, theme, etc. covered. There are practically thousands of options available, which may make you feel a little confused on which to pick. By categorizing the wall murals into colors, designs, and which room to use, you can reduce the choices, but would still be a lot. This took us some days to browse, while doing other stuff that needs to be done. We finally decided on this white wash brick wall mural to give the living room a lighter mood and make the room look more spacious.
Measuring and Ordering
After deciding on your mural, measure the height and width of the location you would mount it to. There is a drop-down box next to the field where you enter the dimensions of your wall when ordering a wall mural from Photowall. Said feature suggests that you increase the height and width of your walls or add at least 3 to 6 centimeters. We actually measured floor to ceiling even though we had skirting 7 centimeters high, our mural, of course, is larger than the actual wall.
Keep in mind, walls won’t be the same height and width on one long line, that’s why it’s ideal if the mural occupies the entire wall and you cut off rather than falling short.
So we finally placed our order on the website, you can see the calculation of how much the total will be as you enter the width and length, this is really convenient so you know you won’t go over budget. You then choose whether you’d go for a standard or premium print. The latter has an extra layer that gives it a matte finish. They are non-reflecting and very scratch-resistant. The wallpaper paste included is also included. We chose the premium print as the website puts its characteristic:
- Detergent resistant
- scratch resistant
- Non-reflecting
- Matte finish
- Environment-friendly
Scratch-resistance is important for a home with three cats. ^_^
Receiving and Unboxing
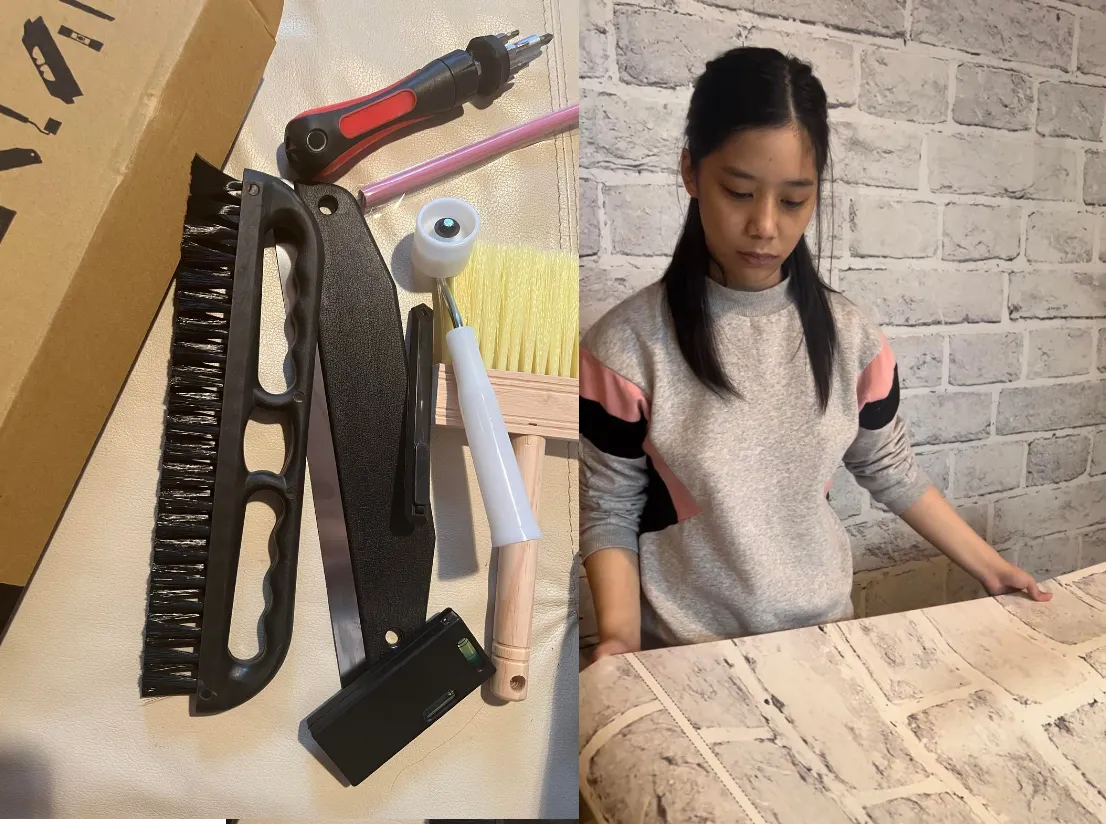
Two days after placing our order, the package arrived. But we had it sent to the office because DPD doesn’t usually bring packages to our home – they always bring everything at a parcel center. Assuming it would be heavy, we opted for the office since it then can be delivered by car without us having to carry it from the parcel center to home.
The package contained rolls of the mural in three separate boxes, The fourth box has everything else we need to cut, straighten, measure, and glue the wallpaper smoothly – a brush for applying wallpaper paste, a seam roller, a paperhanging brush, a knife, a cutting guide are all included in the package. Additional tools include a bubble level and a tape measure.
Correct Numbering, Preparation
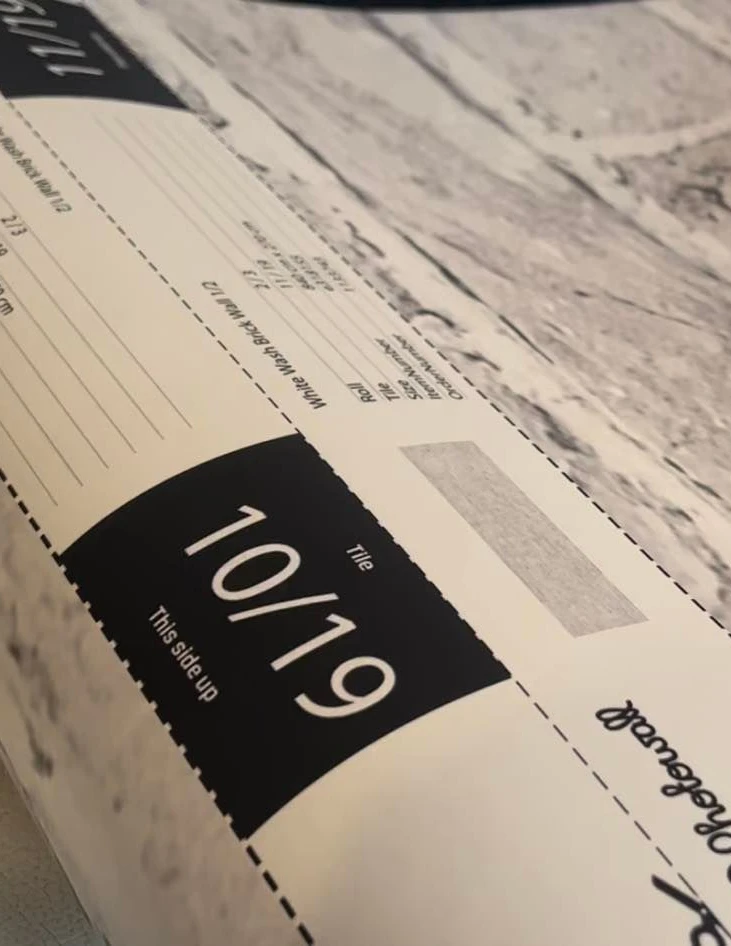
With the length of our wall, we were sent a total of 19 panels, and each one is properly labelled with instructions on how to install it. As you roll out a panel you will see tile numbers and which side should be stuck up.This makes the sequence go side by side and connect the designs seamlessly.
With a brick design us ours, starting from the edge is alright, however we had to start from the other end of the wall as it was free from clutter than the other side, so we went the other way. Here is a step-by-step instruction on how to properly install a mural…while we cut the upper part of the mural already before pasting, we still had to straighten them out later with the help of our family’s tallest member. ^_^
As the panels were rolled out, we mixed the paste following the instructions, and it gave a good consistency. We also wiped off the wall, swept the floor and placed newspapers on the floor to avoid getting glue on them.
Easy-Peasy
The process is not as what others say. When I asked friends for which design they like, most of them said that painting the wall is much easier, that wallpapers will take more time and effort.
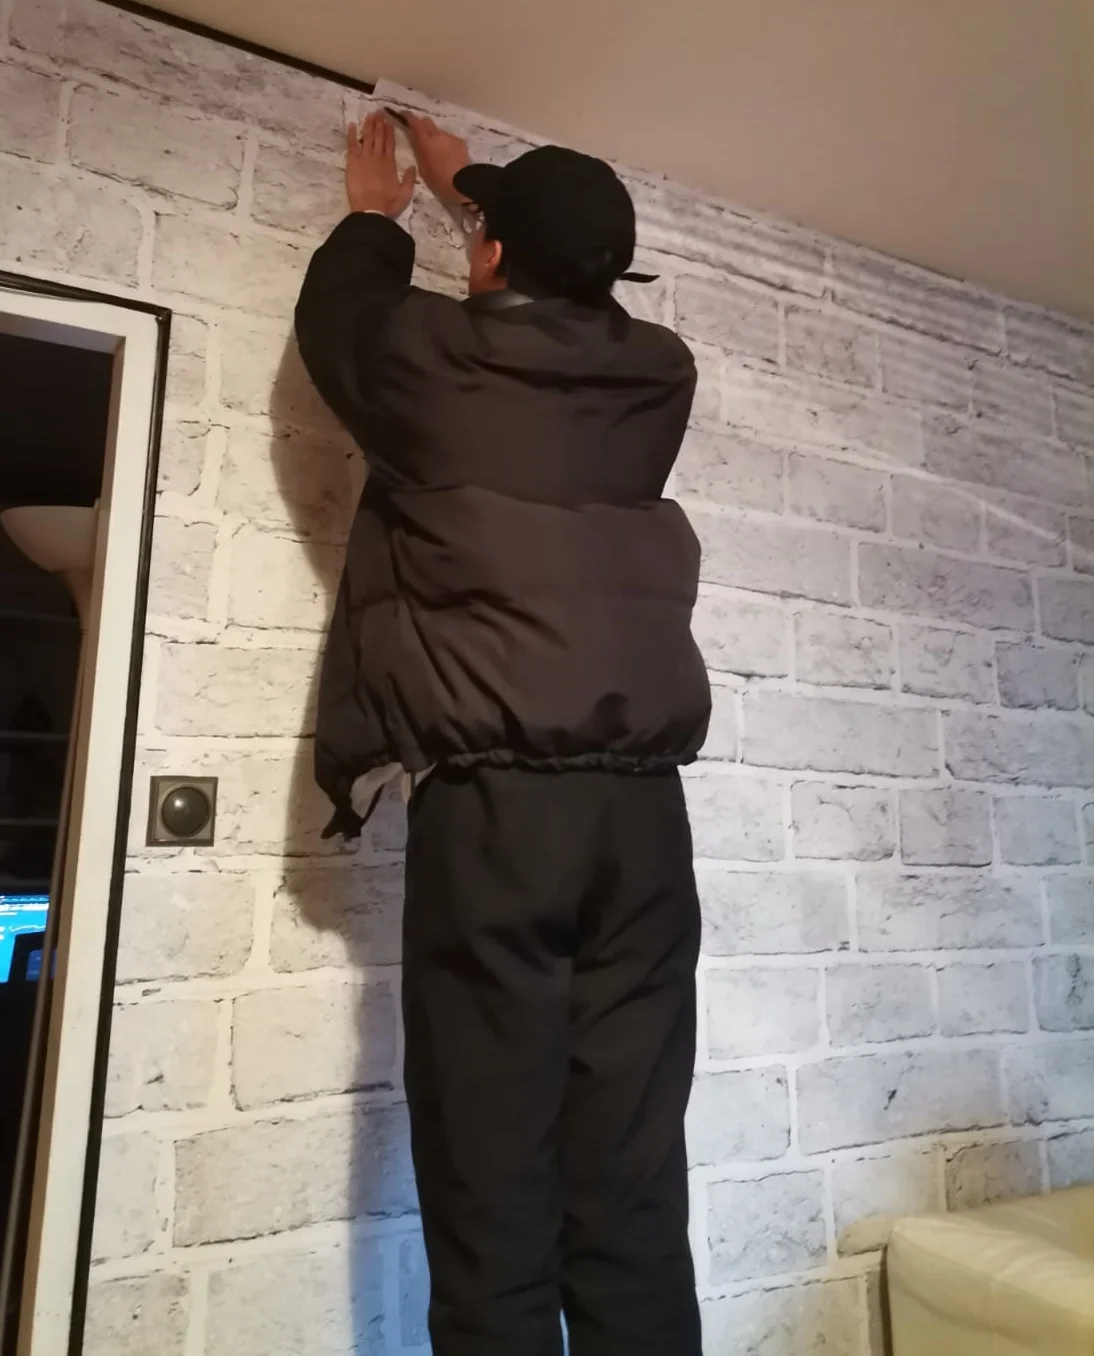
Tips:
1. brush the glue one panel at a time, or half panel at a time so that it wouldn’t dry up soon enough.
2. It is crucial to begin with a line that is entirely straight and level, from which you may build the panels on. If one gets a little bit askew, everything follows.
3. Ask a family member for help beforehand. It was easier to have an extra set of hands. My daughter did most of the work. We began by aligning the first strip’s interior side with the line we had drawn with the level, and we worked our way outward from there.
4. Once the wallpaper strip was correctly aligned, it was simple to remove any extra adhesive by wiping it up with a little damp rag. She would see to it that we weren’t leaving a gap between the two strips of wallpaper while I gently pressed the paper down and smoothed out bubbles, if there’s any.
5. As you hang each panel, use the brush to smoothen out the surface, the seam roller to flatten out the edges.
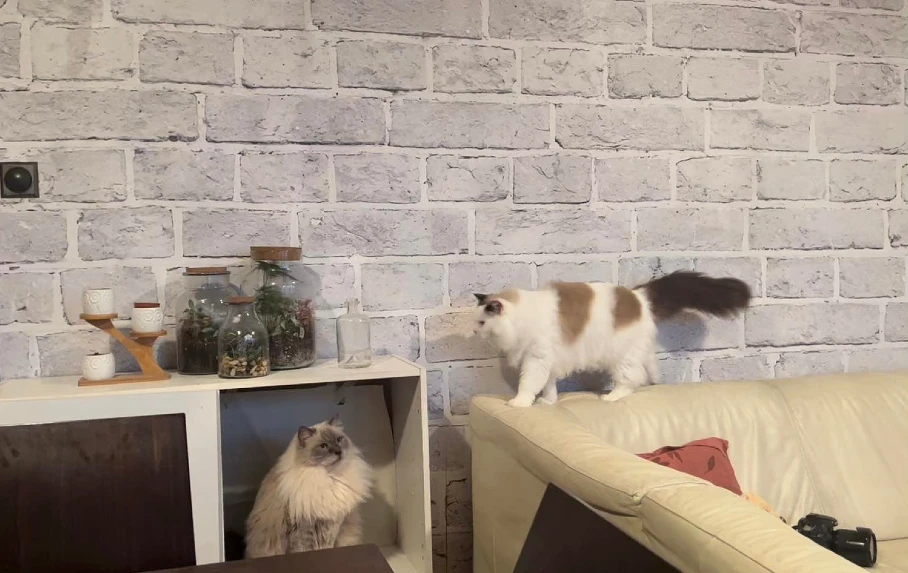
It was crucial that the panels are really aligned as this mural was made to line up properly – side by side rather than to overlap.
Overall, the job went far more smoothly and swiftly than we had anticipated. Putting the hours together, we could say we finished setting everything up in under 4 hours (it was a long wall). We worked on different hours for three days as it was still dark in the mornings and also gets easily darker int the early afternoon. (Thus is the yellowish appearance of the photos, because we had our lights on).
If you have some time this holiday vacation and want a little interior upgrade, visit Photowall’s website (click image below), and give your home a new, cozier look!



I guess I have been living under a rock; because I having heard of this before! But it looks so amazing and shockingly easy to put up, you could probably do it yourself! Thank you for sharing this with us!
Oh I’m going to check them out! This is the first time I’ve heard about this company! I want to add an accent wall!
We are going to be redoing our house soon. I will have to look into this.
Wow, the photo wall seems like a great upgrade from your typical traditional wallpaper!
I have posters from them and I love them all. They have such a great selection of posters and even wallpapers.
I think this is really great one to consider instead of using old wallpapers. Choosing the perfect design is really important.