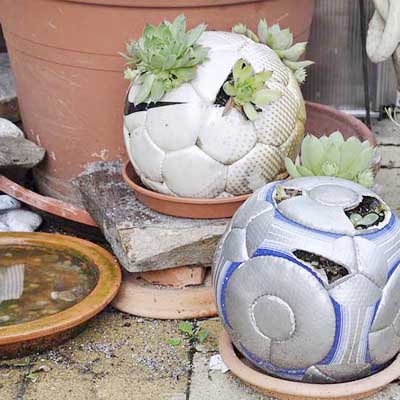
 “Upcycling is the process of converting waste materials or useless products into new materials or products of better quality or for better environmental value.” – Wikipedia
In the simplest of terms, upcycling means converting a useless object into something useful. Although it’s along the same lines as recycling, the two should never be confused. Recycling is more complex, as, more often than not, it involves a chemical process. Recycling involves breaking down something (hence, tampering with its chemical composition) and creating an entirely different object from it.
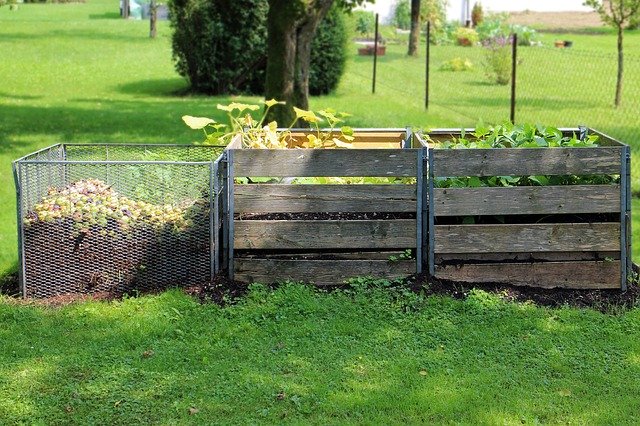
There are many clear-cut examples of upcycling. Nevertheless, the best ones are those that are not only economical but also environmentally friendly. A fine example is indoor worm composting. Apparently, this is an ideal alternative to dump sites in that it allows you to naturally decompose biodegradable materials in a “waste bin” that’s considered economically healthy. It’s also a great way to protect worms (yes, as annoying as these are) from exposure to harsh weather conditions especially during the winter months.
So how do you go about building your very own indoor worm-composting bin? Well, you would need the following materials:
A lidded plastic tub, preferably a non-biodegradable one, which can hold about 10 to 15 gallons of compost.
A drill.
A flimsy material or any breathable material you can use to line the bottom of the tub.
A masking tape.
Once you have all the necessary materials, here’s what you need to do:
On the top and bottom of the lidded plastic tub, drill small holes about 4” apart from each other. You also need to drill two holes on each side of the plastic tub near the lid.
Cut the breathable material, making sure it fits inside the bottom of the tub. Use the masking tape to secure the edges of the fabric.
Start layering materials into the tub, but make sure to follow this sequence: a) soil; b) brown materials such as leaves, coffee, etc.; c) green materials like grass, scraps of vegetables, etc.
That’s it. You now have an indoor worm-composting bin. However, make sure to see to the maintenance of the bin. Mixing or turning the contents of the bin every two weeks is a good idea. If you’re going to place vegetables in the bin, make sure you chop these first since it would make decomposition quicker. In addition, never forget the 3:2 rule. This means that when you place three parts of brown material (coffee, leaves, etc.) into the bin, you need to add two parts of green material (vegetable scraps, grass, etc.).
As a parting shot, ensure that you store your indoor worm-composting bin in a cool, dark place where sunlight and heat can’t reach it. Worms are susceptible to heat and sunlight and even indirect exposure to these can kill the worms in a matter of time. In addition, make sure that the soil is always moist. Worms thrive when there is enough moisture in the bin.
Through worm composting, you do not only join the millions of people who follow the recycle and upcycle processes but you also help protect the environment.


my husband is a big gardener and had done this..
I woudl so love to worm compost, but as I live in a condo in the city i don’t have much use for the product. At least our building recycles organics!
I always thought that recycling and upcycling were interchangeably used. Thanks for clearing that!
I love the idea of worm composting. What a wonderful way of giving back to Mother Nature!
This is a great idea in theory, and I’m glad some people can do it, but I can stand the thought of worms on my trash in my house! Yuck! ESP with two boys! No telling where the worms would actually end up!