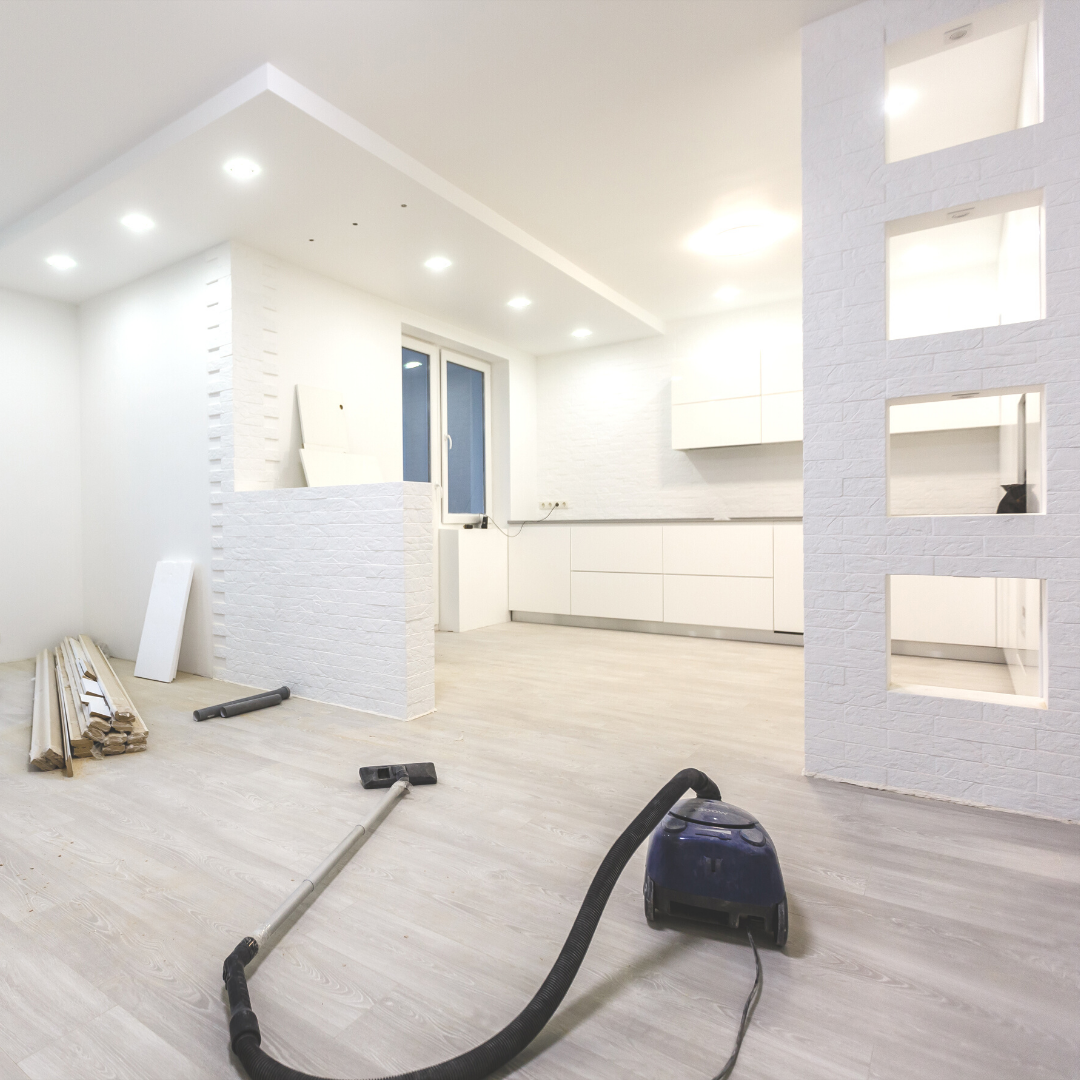
Embarking on your first DIY home improvement project can be an exciting yet daunting experience. With the right guidance, tools, and a bit of patience, even beginners can take on small but impactful projects that can transform their living spaces. DIY projects are a fantastic way to personalize your home, save money, and develop new skills. If you’re new to the world of home improvement, this article will guide you through some of the easiest and most rewarding projects that you can tackle as a beginner.
Table of Contents
Why Start with DIY Home Improvement?
Taking on DIY home improvement projects has numerous benefits. First and foremost, it allows you to customize your home to suit your personal style without the hefty price tag that comes with hiring professionals. DIY projects also give you the satisfaction of knowing you accomplished something yourself, making your home feel more special. Beyond aesthetics, learning basic home improvement skills can empower you to handle future maintenance and repairs with confidence, potentially saving you a lot of money in the long run.
Essential Tools for DIY Beginners
Before diving into any project, it’s important to have the right tools. While you don’t need a fully equipped workshop, a few basic tools will be essential for most DIY tasks. Here’s a list of must-haves for beginners:
- Hammer: Ideal for everything from hanging pictures to assembling furniture.
- Screwdrivers: A set of flathead and Phillips screwdrivers will be useful for various tasks.
- Tape Measure: Accurate measurements are crucial for any home improvement project.
- Utility Knife: Perfect for cutting materials like cardboard, drywall, or carpet.
- Level: Ensures that your installations (e.g., shelves or picture frames) are perfectly straight.
- Power Drill: A cordless drill can be a game-changer for assembling furniture, installing shelves, and more.
- Stud Finder: Necessary for securely mounting heavy items to walls.
- Pliers and Wrenches: Useful for gripping, bending, and holding different materials.
With these basic tools, you’ll be prepared to tackle a wide range of beginner-friendly projects.
1. Paint a Room
Painting is one of the easiest and most impactful DIY home improvement projects for beginners. A fresh coat of paint can completely transform a room, giving it new life without breaking the bank.
Step-by-Step Guide:
- Choose Your Color: Select a paint color that complements your existing decor. If you’re unsure, opt for neutral tones like beige, gray, or soft white.
- Prep the Room: Remove furniture or cover it with drop cloths, tape off edges, and repair any holes or cracks in the walls.
- Prime the Walls: Priming helps the paint adhere better and ensures a more uniform finish.
- Start Painting: Use a roller for large areas and a brush for corners and edges. Apply two coats for the best coverage.
- Clean Up: Remove tape before the paint fully dries to avoid peeling, and clean your brushes and rollers for future use.
With careful preparation and attention to detail, painting a room can be completed over a weekend and instantly refresh your home.

2. Install Floating Shelves
Floating shelves are not only stylish but also highly functional. They provide extra storage and display space, making them a great addition to almost any room. Installing floating shelves is an excellent project for beginners because it requires minimal tools and materials.
Step-by-Step Guide:
- Select Your Shelves: Choose shelves that suit the aesthetic of your space. You can purchase pre-made shelves or even make your own using wooden boards.
- Mark the Placement: Use a level to ensure your shelves will be straight, and mark the spots where you will drill.
- Locate the Studs: Use a stud finder to locate the studs in your wall, as this is where your shelves will be anchored for maximum stability.
- Drill and Mount: Drill holes into the wall and install the shelf brackets. Once the brackets are secured, attach the shelf.
- Style Your Shelves: Once installed, style your shelves with plants, books, and decor for a personalized touch.
This project can be completed in just a few hours and is a fantastic way to improve both the look and functionality of your space.
3. Replace Cabinet Hardware
Upgrading the hardware on your kitchen or bathroom cabinets is a quick and easy way to refresh your space without a full renovation. New knobs, handles, or pulls can make a big difference in updating your home’s aesthetic.
Step-by-Step Guide:
- Choose Your Hardware: Visit your local hardware store or browse online for a style that complements your cabinets. Whether you opt for sleek modern handles or vintage-inspired knobs, new hardware can drastically change the look of your cabinetry.
- Remove the Old Hardware: Use a screwdriver to remove the existing knobs or pulls.
- Measure and Install: Measure the placement of the new hardware to ensure even spacing. If you’re replacing handles, make sure the screw holes align with the existing ones. If not, you may need to drill new holes.
- Attach the New Hardware: Screw in the new knobs or handles, ensuring they are tight and secure.
This project can be completed in under an hour, but the impact on your kitchen or bathroom can be huge, giving it a more polished and updated look.

4. Install a New Faucet
Replacing an old, outdated faucet in your kitchen or bathroom is another beginner-friendly DIY project that can make a big impact. While plumbing tasks might seem intimidating at first, installing a faucet is surprisingly straightforward with the right instructions.
Step-by-Step Guide:
- Turn Off the Water: Before you begin, turn off the water supply under the sink to avoid any unwanted leaks.
- Remove the Old Faucet: Disconnect the water lines from the old faucet and remove it from the sink.
- Install the New Faucet: Follow the manufacturer’s instructions to install your new faucet. Typically, this involves securing it to the sink and connecting the water lines.
- Turn the Water Back On: Once the faucet is installed, turn the water supply back on and check for any leaks.
Replacing a faucet can instantly modernize your kitchen or bathroom and is a satisfying project to complete on your own.
5. Build a DIY Headboard
If you’re looking for a way to spruce up your bedroom, a DIY headboard is a creative and customizable project. There are many ways to create a headboard, from simple wood designs to more elaborate upholstered versions.
Step-by-Step Guide:
- Choose Your Materials: Decide on the look you want. You can use reclaimed wood for a rustic feel or plywood covered in fabric for a softer, more luxurious headboard.
- Measure and Cut: Measure the width of your bed and cut the materials to size. Make sure the headboard is proportional to the bed and room.
- Assemble: If you’re working with wood, assemble your headboard by attaching the boards together. If upholstering, wrap your chosen fabric around the plywood and secure it with a staple gun.
- Mount or Lean: Depending on the design, you can either mount the headboard to the wall or simply lean it against the wall behind your bed.
A DIY headboard adds a personal touch to your bedroom and is a relatively simple project that can be completed in a day.
Final Thoughts
Starting with small, manageable DIY home improvement projects can build your confidence and skills over time. Whether you’re painting a room, installing shelves, or replacing cabinet hardware, each project will bring you closer to creating the home you envision. Remember, patience and preparation are key to successful DIY projects, so take your time, follow instructions, and enjoy the process of transforming your home, one project at a time.


Leave a Reply